Last updated on January 20, 2021
You likely already know what MAME is, but if not, the simplest description is a multi-purpose emulator. Most people use it to emulate old arcade systems and gaming consoles, but it also provide support for several of the 68k Macintosh Systems (search the page for mac.c). For this blog entry I’m going to walk through setting up MAME to emulate a Macintosh Plus with the assumption your using MAME instead of Basilisk II because you want to initialize and partition an image file that you created from a physical drive, SD card etc.
Quick Start
- Download and install the latest version of Mame (this guide has been update for MAME version 0.277)
- Download the Mac IIci rom files from the internet archive, and put the
macplus.zipin your ROM folder - Download my 2GB System 7.5.5 drive image and rename to
mac755.chd - Use DD or some other similar tool to create a image of your physical drive, SD card, CF card or other media and rename to
blank.cdd(or whatever you want) - Run Mame and Initialize your image file using the patched version of: HD SC Setup 7.5.5 or Drive Setup 1.5 or Drive Setup 1.7.3
- Exit Mame and write or copy the initialized
blank.cddimage file to your target media.
1. Download and install MAME
The latest versions for Windows, OSX and linux can be found on MAME’s site.
- Create a destination folder on your system that you will install MAME in.
- Download MAME
- Uncompress the .zip, .gz etc to your destination folder
2. Select and Download a ROM file
To run MAME as a Macintosh System you’ll need to get the proper ROM files that represent the system you want to emulate. Luckily some of these ROM files are now available on the internet archive and can be used for personal/research purposes.
I’ve personally tested several of these files with MAME, but for this example I’m going to use the Macintosh Plus
- Download the macplus.zip, macII.zip or maciici.zip file from the internet archive (this is a bundled zip file, from other sources you’d need the BIOS for the separate floppy bios file and the keyboard bios file)
- Copy/move this .zip file to your the rom folder in your MAME folder (from section 1)
3. Selecting an drive or volume image file
Mame only works with drive image files, I suggest using my System 7.5.5 2GB drive image from my downloads page. Download, unzip and rename from OS_755_2GB.dsk to mac755.chd
4. Create the image file you want to initialize
I suggest using DD or similar tool to create an image of your SD card, CF card, drive, or removable media. Once you’ve created the image file rename it to something like blank.chd
5. Run MAME (Windows 10)
- Open the terminal / command line window.
- Go to the MAME folder
- For Windows run
mame64 maciici -hard1 mac755.chd -hard2 blank.chd -ram 32M(where blank.chd is whatever you’ve called the image you created) (figure 1) - Wait… can take some time to boot
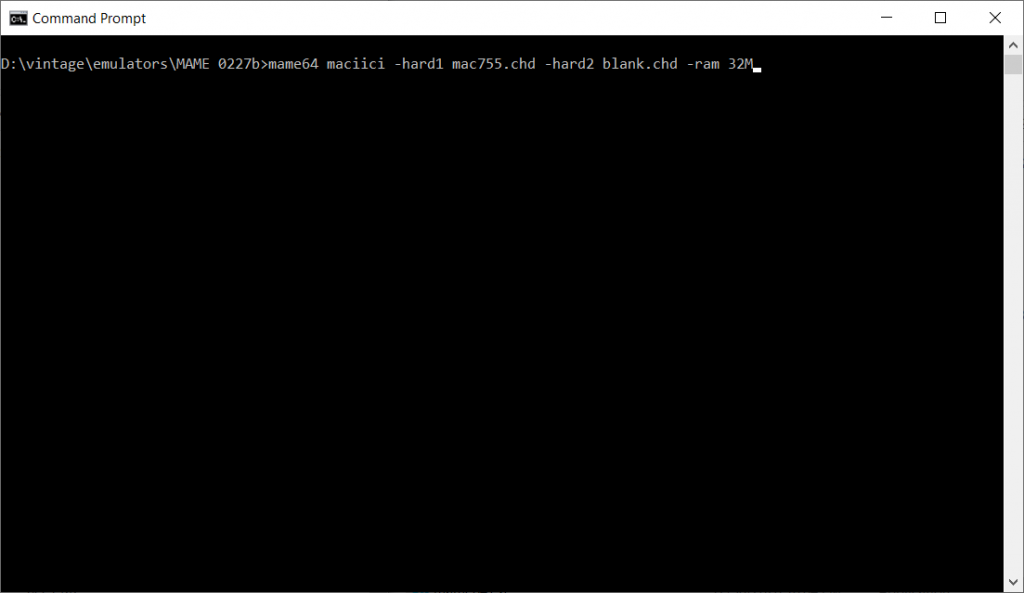
Figure 1: Windows Command Prompt 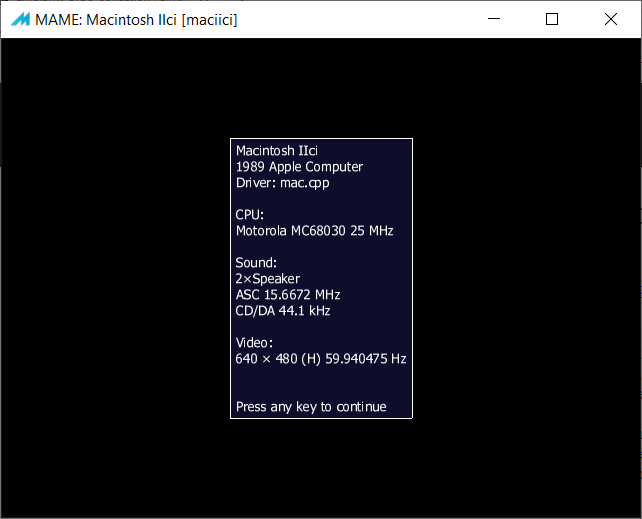
Figure 2: Mac IIci 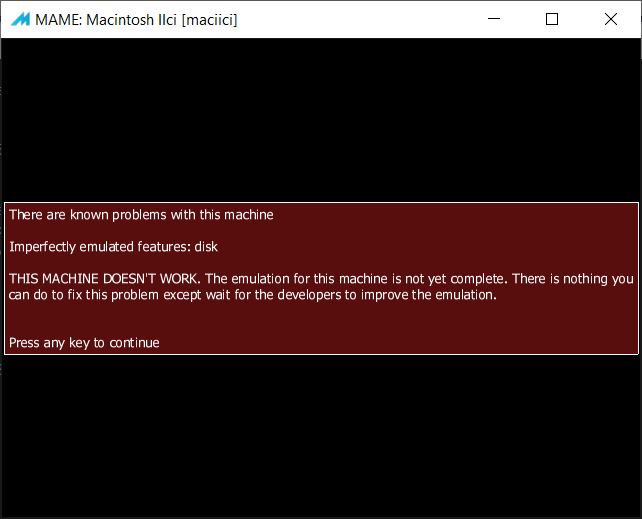
Figure 3: Not yet complete 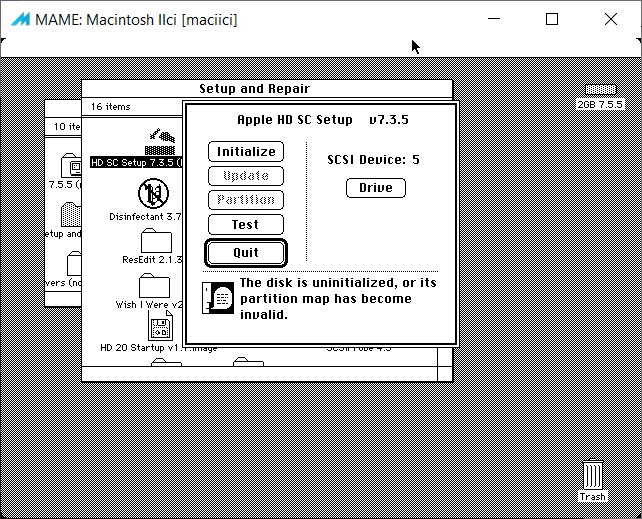
Figure 4: Device 5
5. Setup and Initialize your image file
If you used the same ordering for drives as I did your blank.chd image file will be device 5 (figure 4). Note depending on the size of your image file the initialization step can take a very, very long time. I’ve created a separate entry on how to initialize and partition a drive / image file using the patched version of apples drive setup tools that supports both apple branded and generic drives. Note, depending on the size of the image file you’ve created the initialization process can take a significant amount of time.
6. Copying your image file back on to the source media
Use balenaEtcher or DD to write your new drive image file to your SD card etc. Or copy the your new drive image file to your SD card if your adapter allows for that, e.g. the MacSD.
You made a mistake. There is no createdhd for : chdman createdhd -i -o
It is createhd. It doesen’t create a output file on windows 7 ultimate and if it was for windows xp or older, say so.
Thanks for catching the typo, fixed now. Not sure why it’s not creating an output file for you, I used this on Windows 10 Home and Pro.
I observed that your 2gb image boots fine on mame using a macse rom. But when I transffered files to it and updated to full 6.0.8 via basilisk ii method of using the 2gb drive as a secondary drive it didnt work with mame. it says invalid parent. have you tried this out ?
Hi Giridhar, which version of MAME are you using? Yes, in the past I tested with an edited image, but I haven’t tested with MAME since I wrote this.