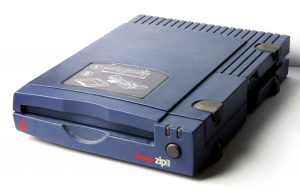
With SCSI being essentially obsolete, and the fact that Macintosh systems (since OS X 10.6 I think) can no longer write to HFS formatted disks, the best way to use modern systems when setting up your classic 68k system is to create a bootable drive image using a Macintosh 68k or PowerPC emulator then writing that disk image to a real or emulated disk drive. This guide is written for Disk Duplicator (DD) is a standard application that can be used for imaging hard drives, removable drives, memory cards, usb keys, and CD ROMs.
47 CommentsTag: Windows
SCSI2SD: Using a SCSI2SD adapter to setup your 68k Macintosh
I recently purchased a SCSI2SD V.5 adaptor (3.5″ and 2.5″) to replace a failing 1980s SCSI HD, and realized once I had it set up I could “image” the Micro-SD card to make boot-able images anyone could use.
75 CommentsIomega Zip: Using a 100MB SCSI Iomega Zip Drive to setup your 68k Macintosh

I’ve recently been experimenting to see if I could somehow use of my old Iomega Zip drives (a 250MB USB version, and a 100MB SCSI) to move files between my Windows PC and my various 68k Macintosh Systems. After a bit of experimentation I discovered how I could not only move files, but also create a disk image that would allow me to use my Windows PC to make fully bootable Zip disks for use with any of the SCSI capable 68k Macintosh systems.
9 CommentsFloppy Drive: Using a 3.5″ HD Floppy Drive to setup your 68k Macintosh

Booting your classic 68k Macintosh from a 3.5 inch floppy disk was the most common and the easiest way to get most classic macs working when your starting with a more modern machine (most, but not all, more on that in a bit).
This post focuses on 3.5″ High Density (HD) disks that can be created using modern USB floppy drives.
I will create separate posts describing how to get started using 400k and 800k floppy disks using either a intermediary Macintosh that supports both these the HD format, or using floppy-emu to emulate these old drives.
Leave a Comment