With SCSI being essentially obsolete, and the fact that Macintosh systems (since OS X 10.6 I think) can no longer write to HFS formatted disks, the best way to use modern systems when setting up your classic 68k system is to create a bootable drive image using a Macintosh 68k or PowerPC emulator then writing that disk image to a real or emulated disk drive. This guide is written for Disk Duplicator (DD) is a standard application that can be used for imaging hard drives, removable drives, memory cards, usb keys, and CD ROMs.
51 CommentsTag: OS X
SCSI2SD: Using a SCSI2SD adapter to setup your 68k Macintosh
I recently purchased a SCSI2SD V.5 adaptor (3.5″ and 2.5″) to replace a failing 1980s SCSI HD, and realized once I had it set up I could “image” the Micro-SD card to make boot-able images anyone could use.
97 CommentsIomega Zip: Using a 100MB SCSI Iomega Zip Drive to setup your 68k Macintosh

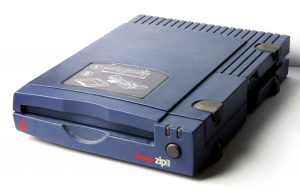
I’ve recently been experimenting to see if I could somehow use of my old Iomega Zip drives (a 250MB USB version, and a 100MB SCSI) to move files between my Windows PC and my various 68k Macintosh Systems. After a bit of experimentation I discovered how I could not only move files, but also create a disk image that would allow me to use my Windows PC to make fully bootable Zip disks for use with any of the SCSI capable 68k Macintosh systems.
10 CommentsFloppy Drive: Using a 3.5″ HD Floppy Drive to setup your 68k Macintosh

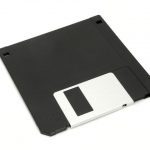
Booting your classic 68k Macintosh from a 3.5 inch floppy disk was the most common and the easiest way to get most classic macs working when your starting with a more modern machine (most, but not all, more on that in a bit).
This post focuses on 3.5″ High Density (HD) disks that can be created using modern USB floppy drives.
Leave a Comment