Last updated on August 9, 2021
In my previous blog entries I mentioned that I could not include the full version of System 7.0.1 with my drive images due to copyright restrictions, but you can install the full version of the North American version of 7.0.1 using Apple’s Legacy Software Recovery CD.
What you need
- A Macintosh System that will run System 7.0.1
- A device/drive/media you can write/copy a bootable drive image or volume image to. My Macintosh Downloads page describes the differences between volume images and drive images and lists what media or adapters work with each.
- Basilisk II. Note: I used a LCIII rom, I suggest you do the same. I found that I had issues with setting up AppleShare using ARA with the Mac IIci rom)
- My bootable 7.5.5 volume image to use as your Basilisk II boot drive
- One of my blank 2GB drive image or blank 2GB volume image, or some other image file that you plan to use with your device/drive/media.
- The installation files for System 7.0.1 on Apple’s Legacy Software Recovery CD from the Internet Archive.
- (Optional) Apple’s Applications Recovery CD from the Internet Archive, contains updates for AppleShare and some other useful applications (there are some issues with this CD image where some of the floppy images it contains are corrupted, I’m trying to find a clean copy).
Quick Start
- Setup and run Basilisk II with at least those 3 volumes: boot, legacy CD, and the drive/volume you’re updating.
- Install the full version of 7.0.1 then the System 7 Tune-up 1.1.1 from the Legacy Software Recovery CD.
- Optional updates and applications
- Write / copy the updated drive image or volume image following the guidance on my Macintosh Downloads page.
1. Setting up Basilisk II to copy the System files on to one of my drive or volume image files
For this blog entry I’m going to use Basilisk II to edit my images, my Macintosh downloads page lists other tools that can be used to edit my images if you don’t want to use Basilisk II. I use Basilisk II because it can edit both my drive and volume/partition images, and is my general “go to” emulator.
- Download Apple’s Legacy Software Recovery CD from the Internet Archive.
- Download my bootable 7.5.5 volume image
- Run BasiliskIIGUI
- On the volumes tab (Figure 1):
- add the System 7.5.5 volume image as the boot drive. For this example I’m using my volume image:
755_2GB_volume.dsk - add Apple’s Legacy Software Recovery CD
- add Apple’s Applications Recovery CD (optional)
- add my blank 2GB drive image or blank 2GB volume image or other blank image depending on what media, adapter or emulator you want to boot from. For this example I’m using my blank 2GB drive image:
blank_2GB_HFS_drive.dsk
- enable “My Computer” icon on your Mac desktop (bottom left of Figure 1)
- add the System 7.5.5 volume image as the boot drive. For this example I’m using my volume image:
- Update any other settings you want to change
- Exit BasiliskII GUI
- Load Basilisk II (Figure 2)

Figure 1: Basilisk II volumes 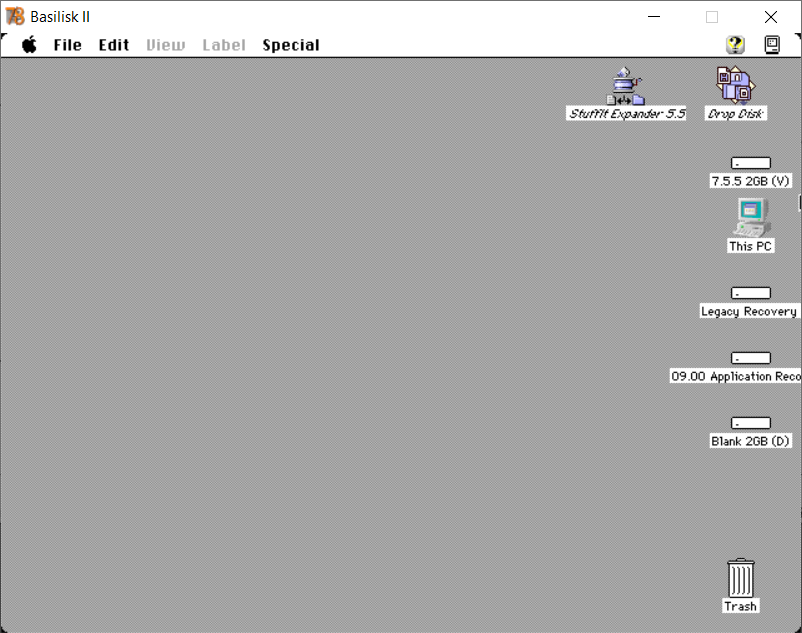
Figure 2: Basilisk II desktop
2. Install the full version of 7.0.1 + tune-up 1.1.1
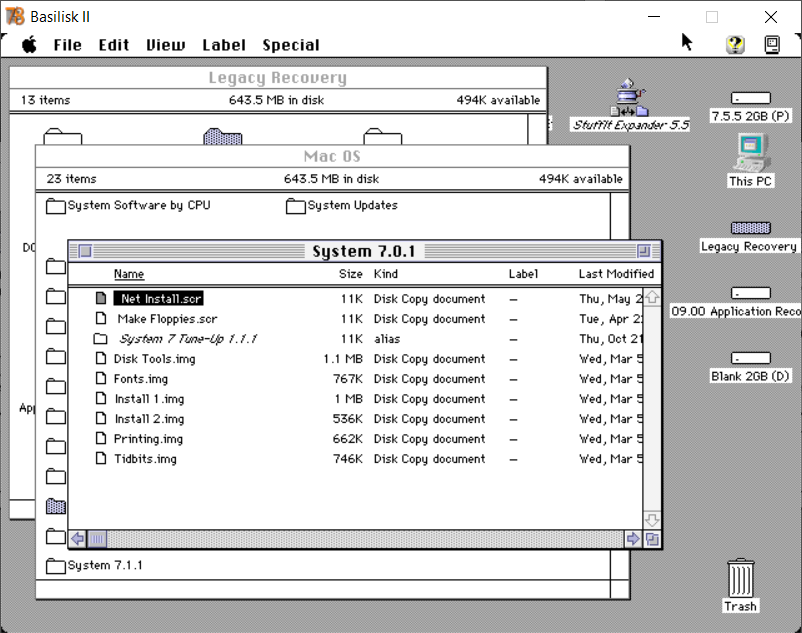
Figure 3: System 7.0.1 disk images 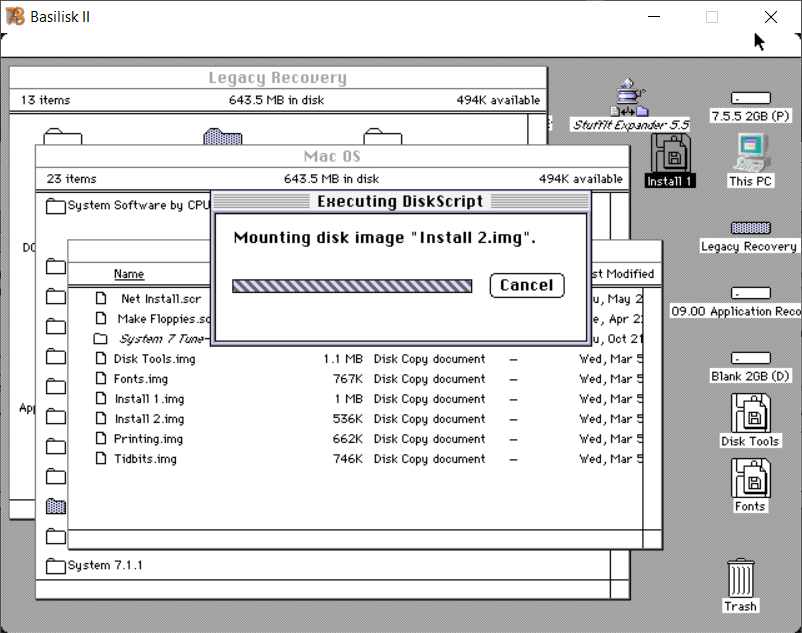
Figure 4: Mounting disk images 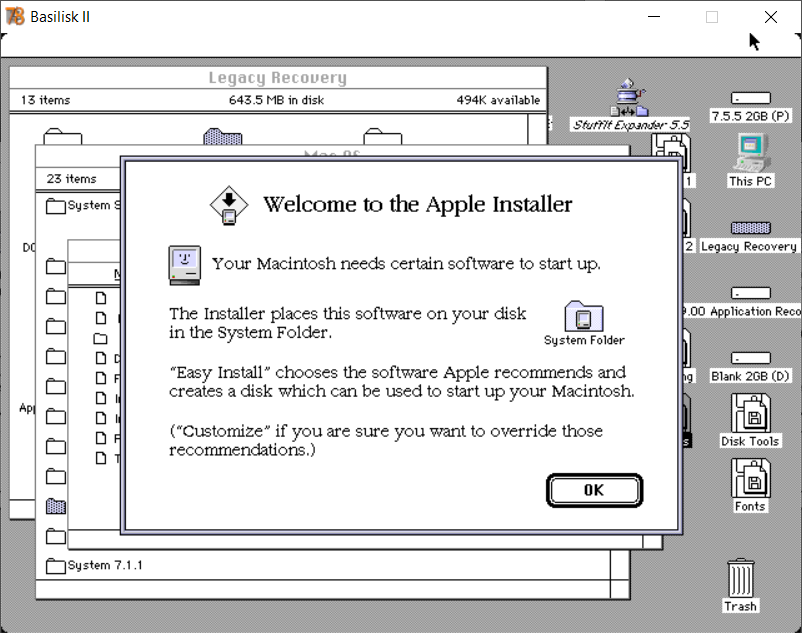
Figure 5: Welcome 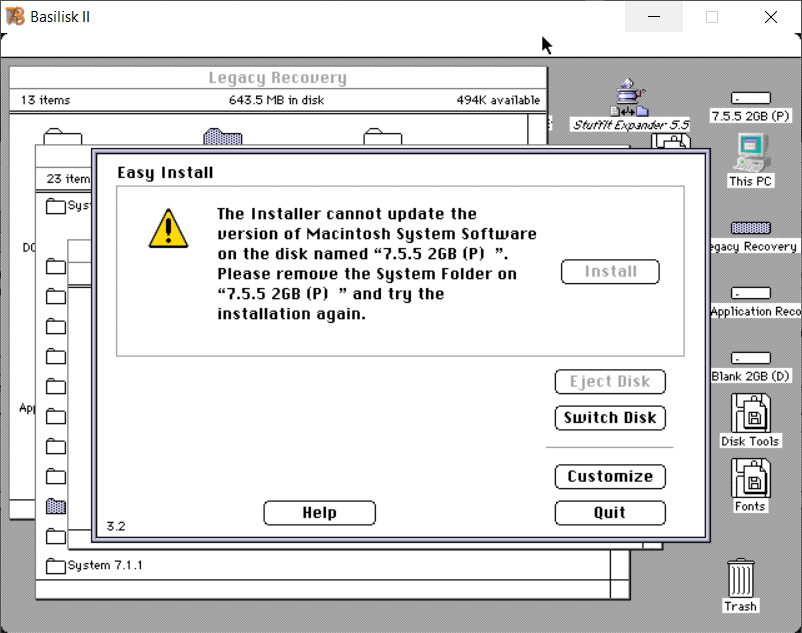
Figure 6: Wrong drive
- Open the Legacy Recovery Drive (figure 3)
- Open the Mac OS folder (figure 3)
- Open the System 7.0.1 folder (figure 3)
- Run the Net Installer Script (figure 3)
- The script will mount a large number of disk images (figure 4)
- Select continue on the Welcome to the Apple Installer (figure 5)
- On the Install Window (figure 6)
- You will see a message:
The Installer cannot update the version of Macintosh System Software on the disk named "7.5.5 2GB (V)". Please remove the System Folder on "7.5.5 2GB (V)" and try again. - You are seeing that error because the current selected destination drive is your boot drive
- You need to press the Switch Disk button until the Blank 2GB (D) drive is selected (or whatever size of blank drive or volume image you selected at the start)
- You will now see a message: Click Install to place version 7.0.1 on the selected disk. (figure 7)
- You can:
- Do an Easy Install, (figure 7, install 7.0.1 for the system Basilisk II is emulating)
- Do an Universal Install, select customize and select System Software for any Macintosh (figure 8)
- Do a system specific install, select customize and select System for … (figure 9)
- press the Install button, wait…
- When the install has finished press the Quit button. (figure 10)
- You will see a message:
- The Blank 2GB (D) drive is now updated with the full version of OS 7.0.1
- Open the System 7 Tune-Up 1.1.1 folder (figure 11, there is an alias in the System 7.0.1 folder)
- Run the Net Installer Script (figure 12)
- On the Install Window (figure 12)
- You need to press the Switch Disk button until the Blank 2GB (D) drive is selected (or whatever size of blank drive or volume image you selected at the start)
- press the Install button, wait…
- When the install has finished press the Quit button. (figure 13)
- System 7.0.1 with the Tune-Up 1.1.1 is now installed (figure 14)
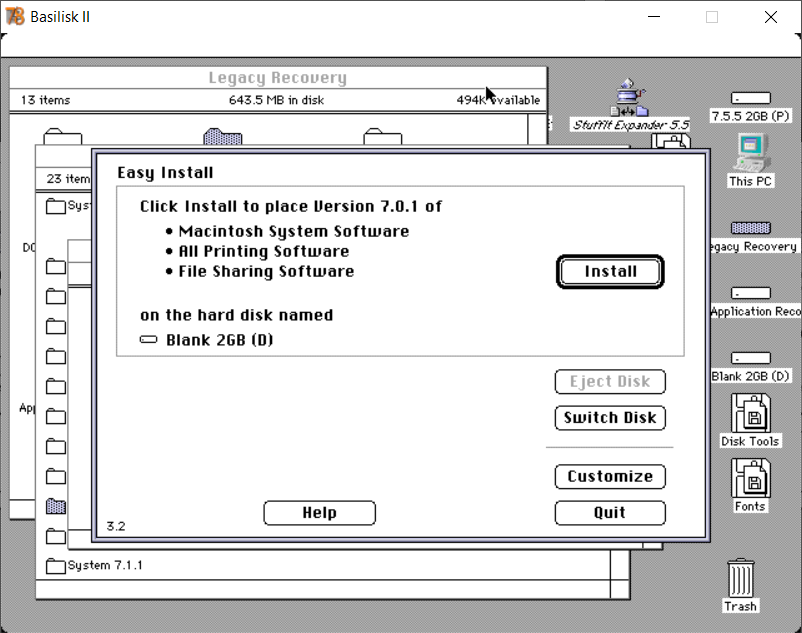
Figure 7: Easy Install and Blank Drive selected 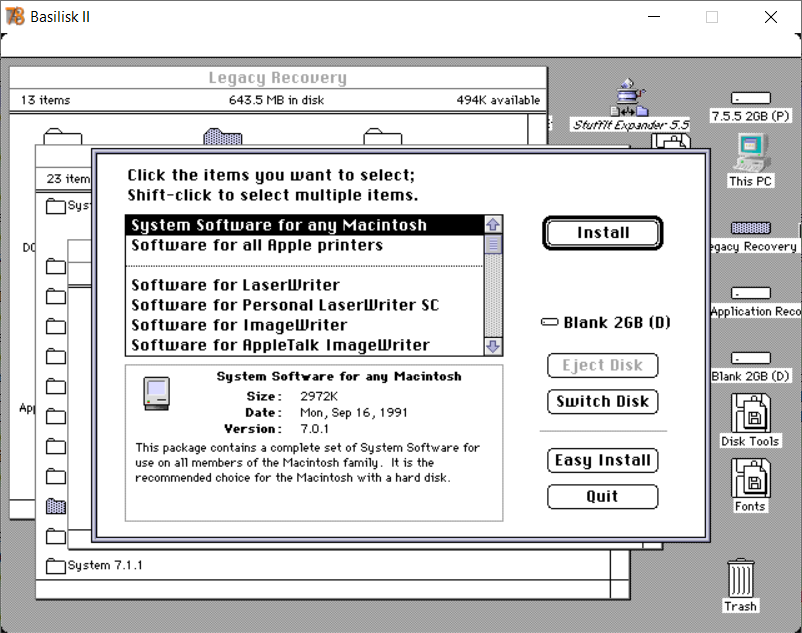
Figure 8: Universal Install 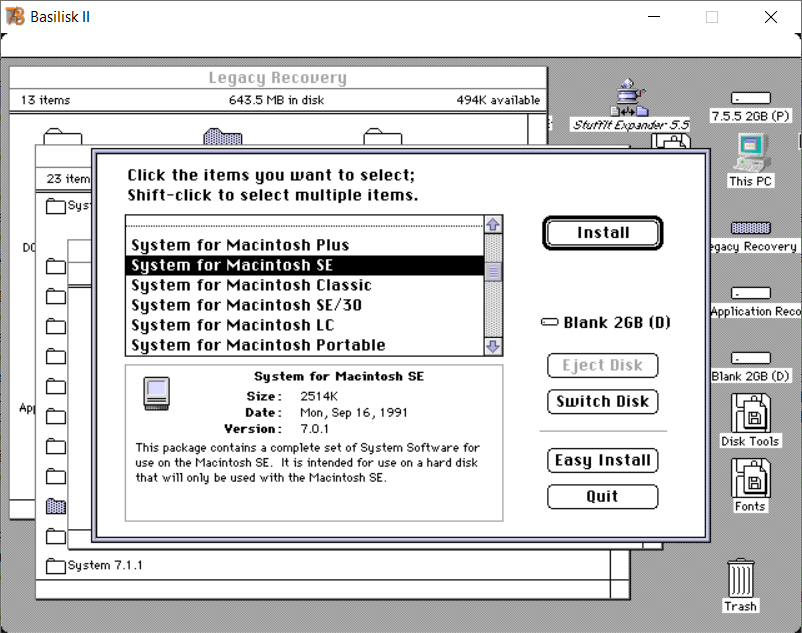
Figure 9: System Specific 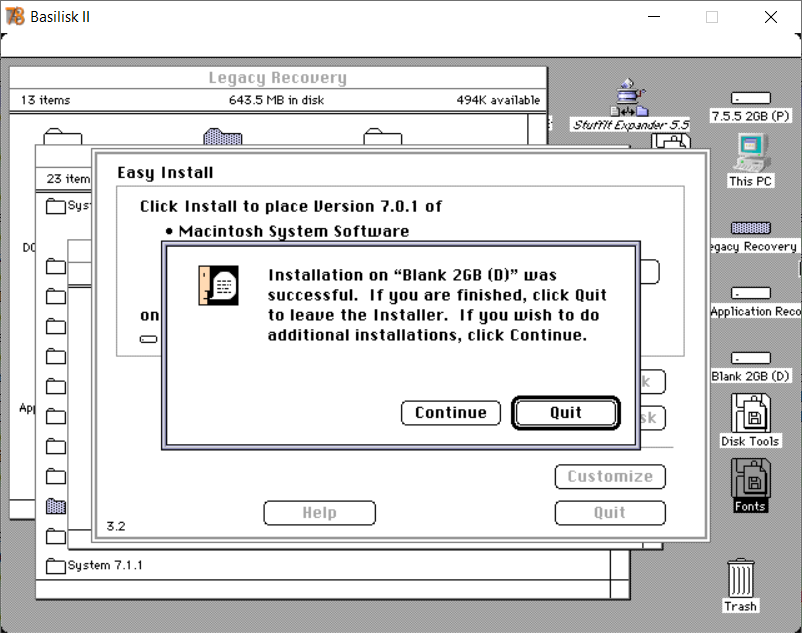
Figure 10: Install completed 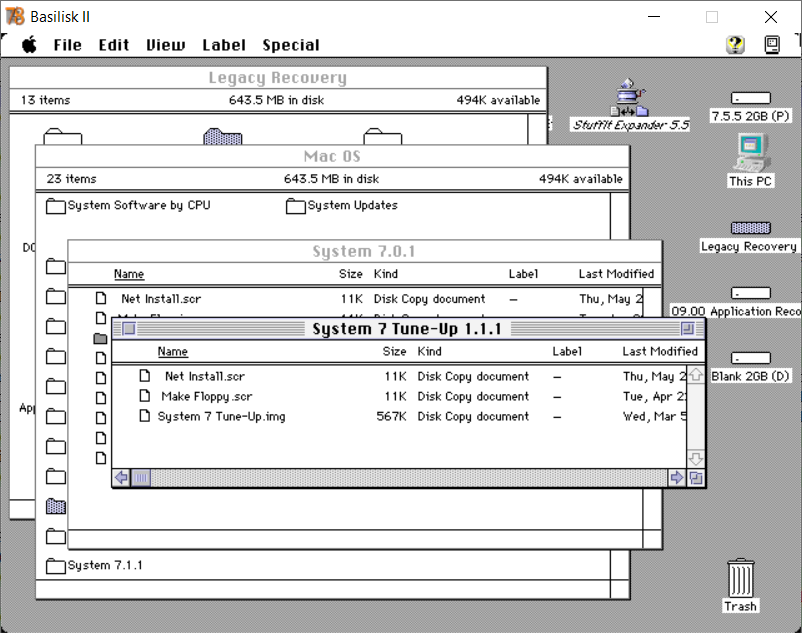
Figure 11: Tune-up 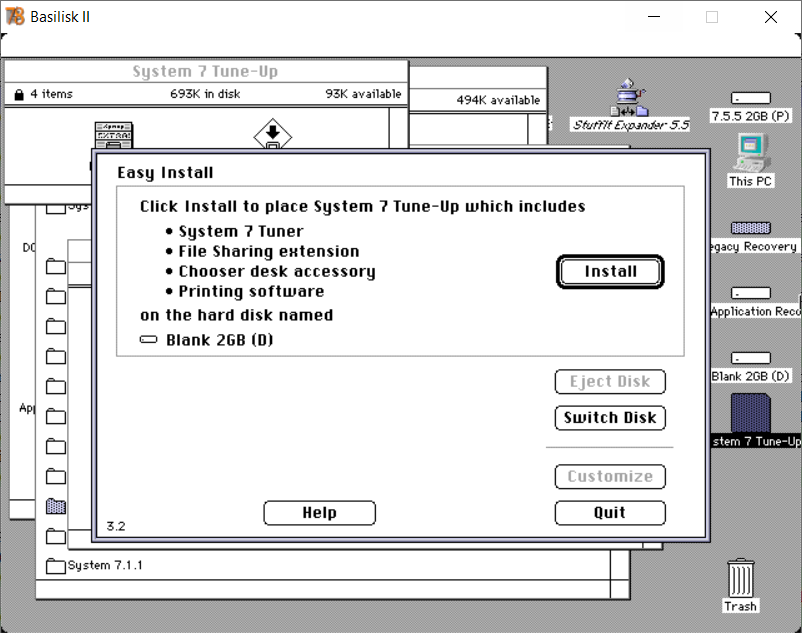
Figure 12: Easy Install and Blank Drive selected 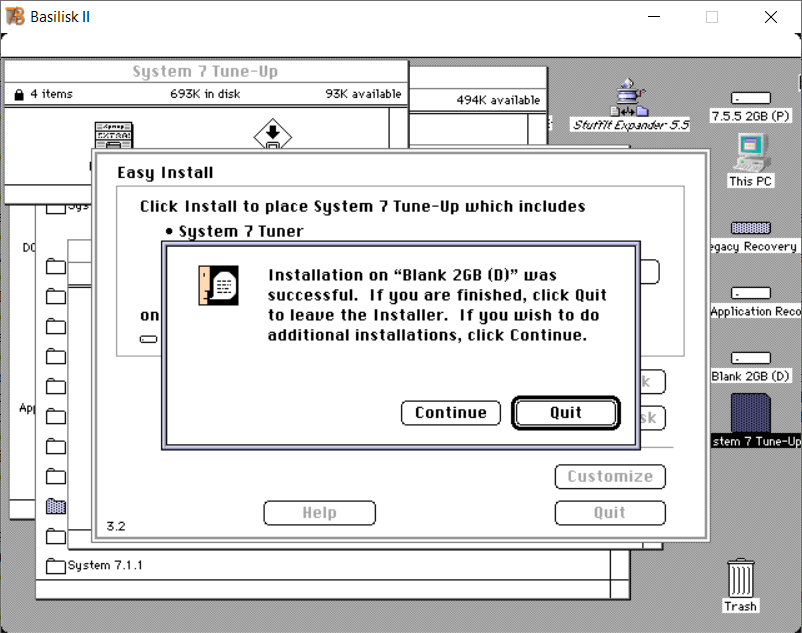
Figure 13: Install Completed 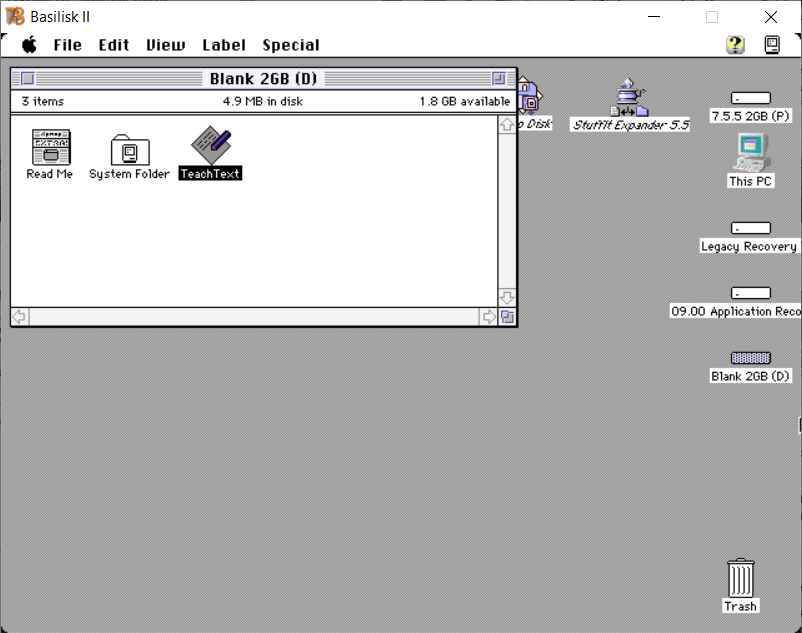
Figure 14: 7.0.1 installed on blank drive
3. Optional Updates and Applications
On my bootable system 7.5.5 volume image and drive image I have a collection of utilities and applications that can be useful to help you work on your 68k Macintosh system, see my Macintosh Downloads page for the latest list and descriptions. I also suggest that you take a look at the contents of the Apple’s Legacy Software Recovery CD and Apple’s Applications Recovery CD.
4. Enabling Apple Share
- I recommend that you install Apple Share Client 3.5 (Thu, Jan 9, 1995) from the network folder of the Apple’s Applications Recovery CD
If you have more than one 68k or other older Macintosh you may want to track down some AppleTalk/LocalTalk connectors so you can network them together. You can also use Basilisk II with Apple Remote Access 1.0 and a null modem cable to connect your 68k Macintosh to your Modern System
4.1 Enable AppleTalk
- Select the Apple Icon and select
Chooser(Figure 15), if you don’t see chooser listed, you haven’t installed the full version of System 7 yet. - On the Chooser window:
- AppleTalk will likely be inactive (Figure 16, radio button in the bottom left corner)
- Select Active, you will get a warning message (Figure 17), select OK
- AppleTalk is now active (Figure 18)
- Close the Chooser Window,
- Reboot Basilisk II (Menu->Special->Restart), I find it best to restart after making any changes with Chooser.
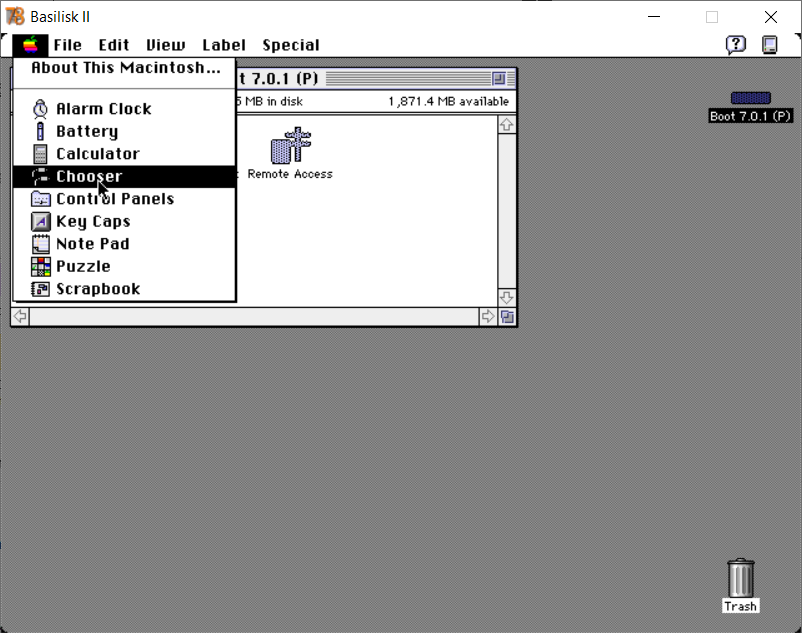
Figure 15: Chooser 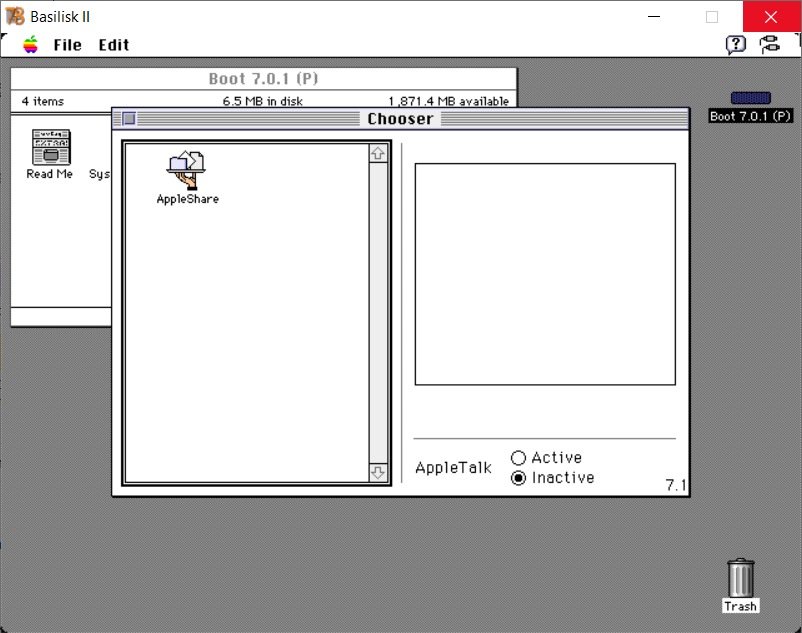
Figure 16: AppleTalk Inactive 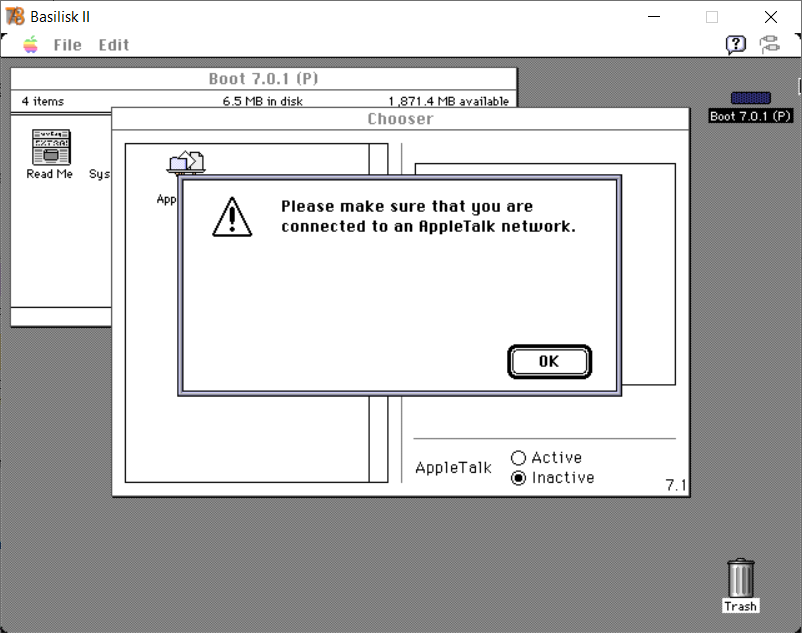
Figure 17: Warning 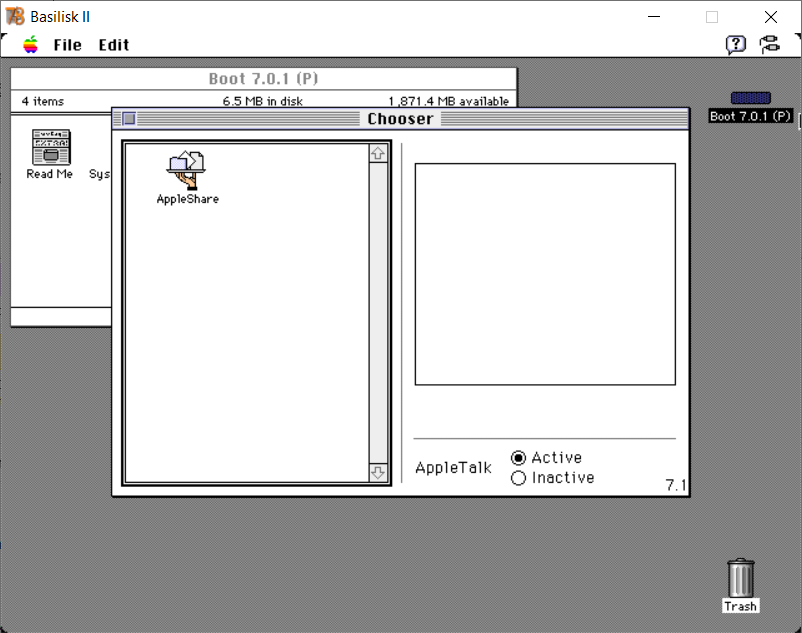
Figure 18: AppleTalk Active 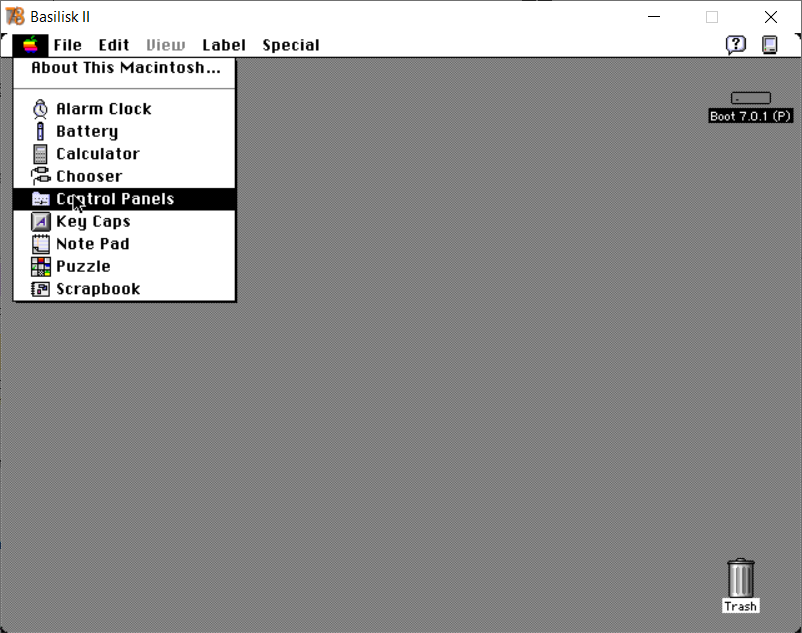
Figure 19: Control panels 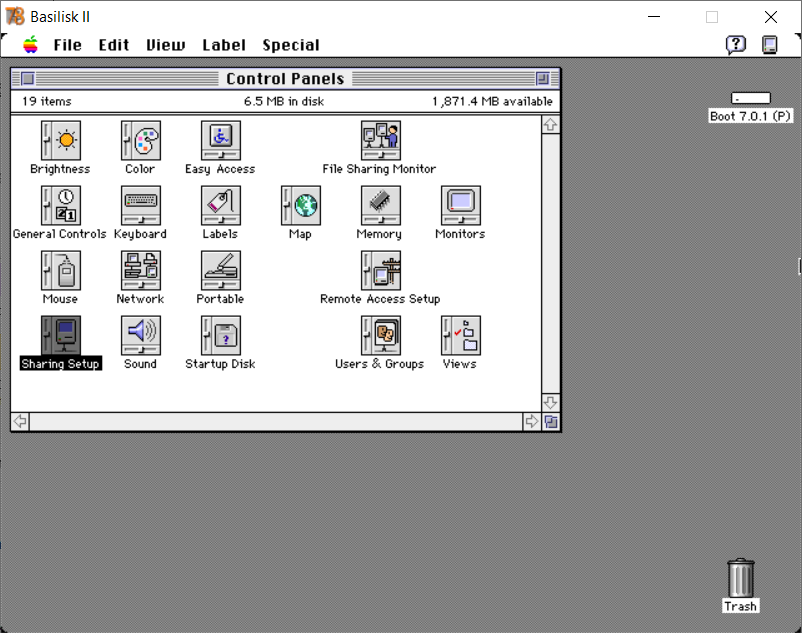
Figure 20: Sharing Setup 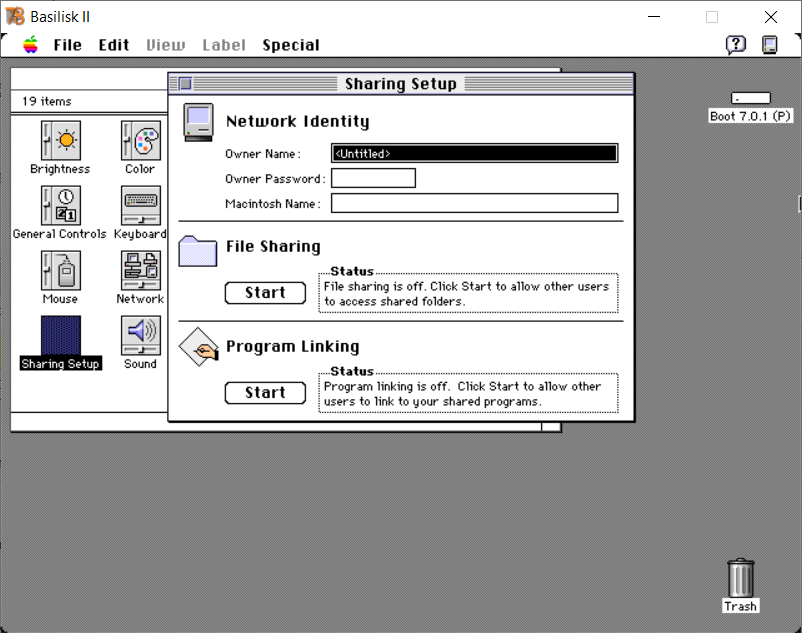
Figure 21: Sharing off 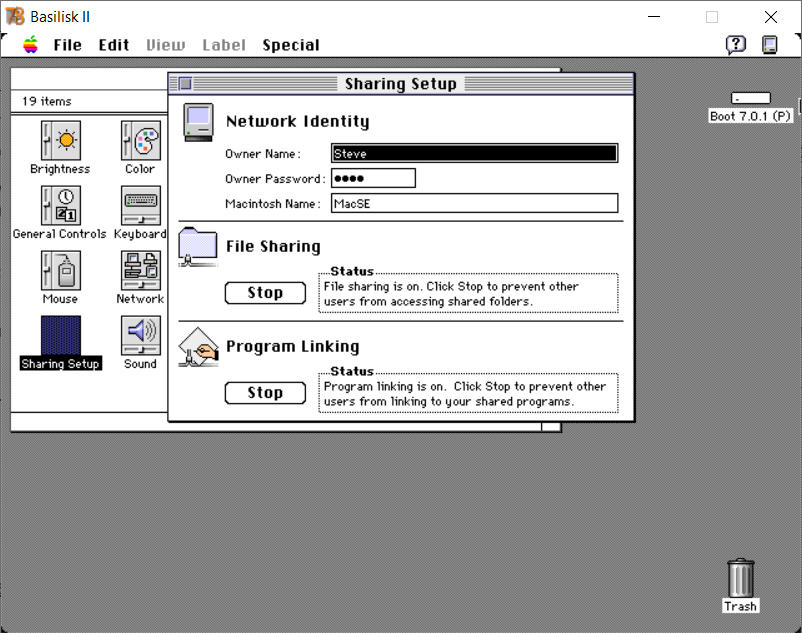
Figure 22: Sharing on
4.2 Enable file sharing
- Select the Apple Icon, select control panel and select
Sharing Setup(figure 19 and 20) - On the Sharing Setup window (figure 21):
- Add the Owner Name: Your name
- Add the Owner Password: Whatever you’ll remember
- Add the Macintosh Name: I use “Basilisk II”
- Press the “start button” to enable file sharing (figure 22)
- Optional: Press the “start button” to enable Program linking (figure 22)
- Close the Sharing Setup window
4.3 Setup your user accounts
The easiest way to use AppleShare is to enable Guest access, since it’s unlikely that you’ll be letting anyone other than yourself access your network.
- Select the Apple Icon and select
Control PanelsthenUsers & Groups(figure 23) - On the Users & Groups window (figure 24):
- Double click on the Guest Icon
- On the Guest window (figure 25):
- Enable: File Sharing
- Enable: Program Linking
- Enable: Remote Access (if you don’t see this option you haven’t installed Apple Remote Access yet)
- Close the Guest window
- Close the Users & Groups window,
- Save changes (figure 26)
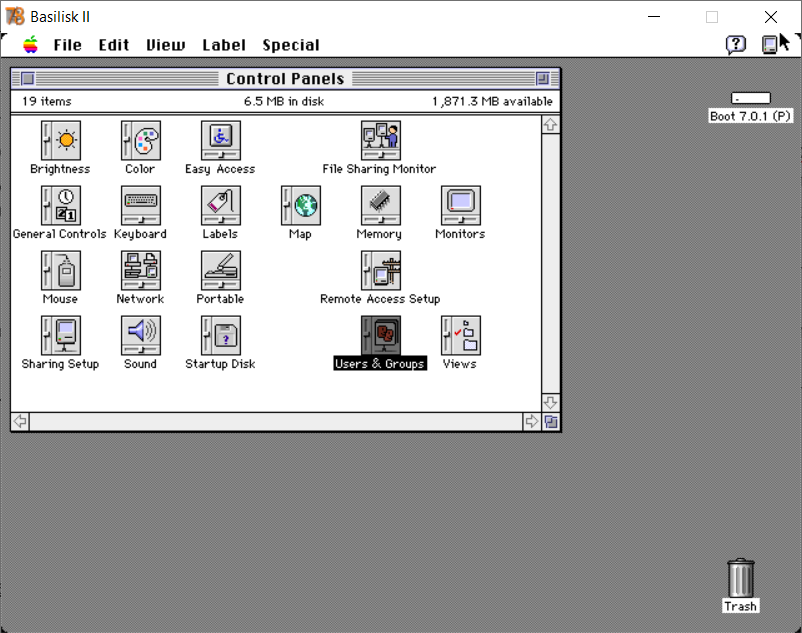
Figure 23: Users and Groups 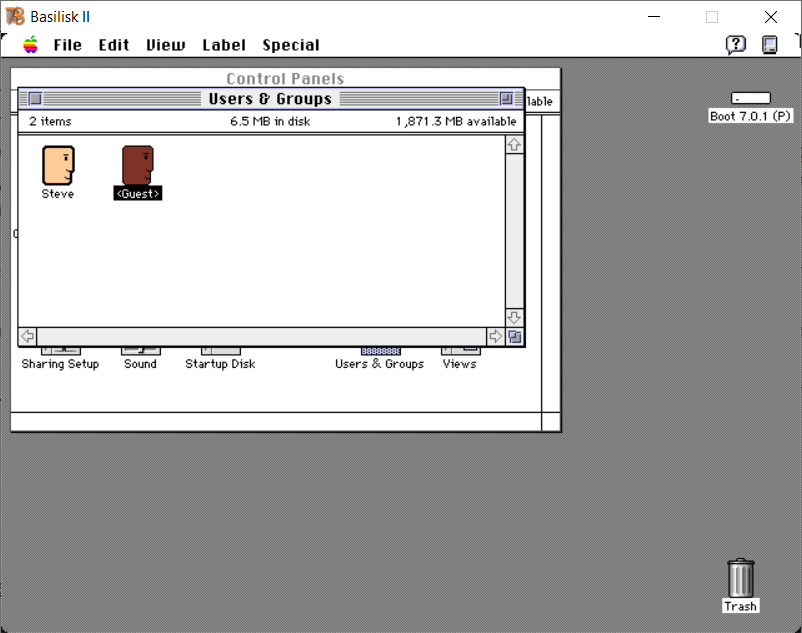
Figure 24: Guest Account 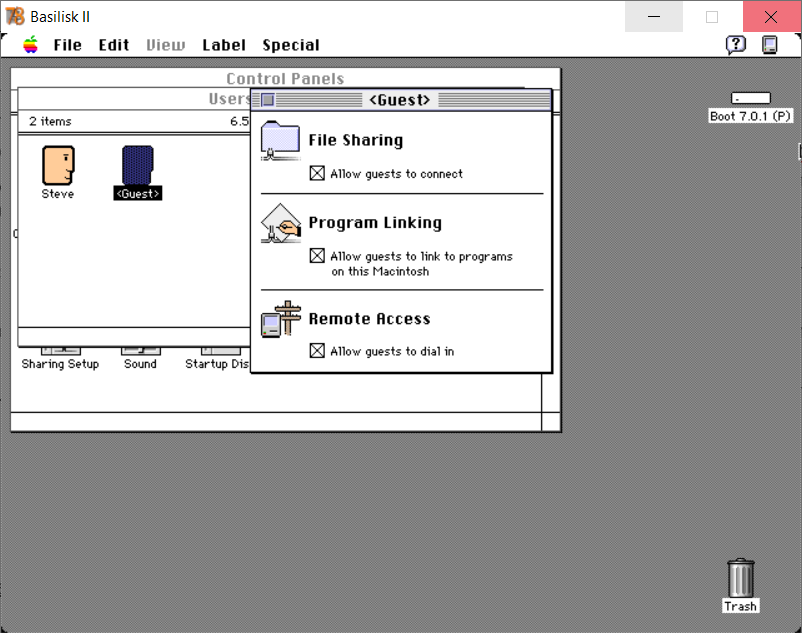
Figure 25: Guest Account updated 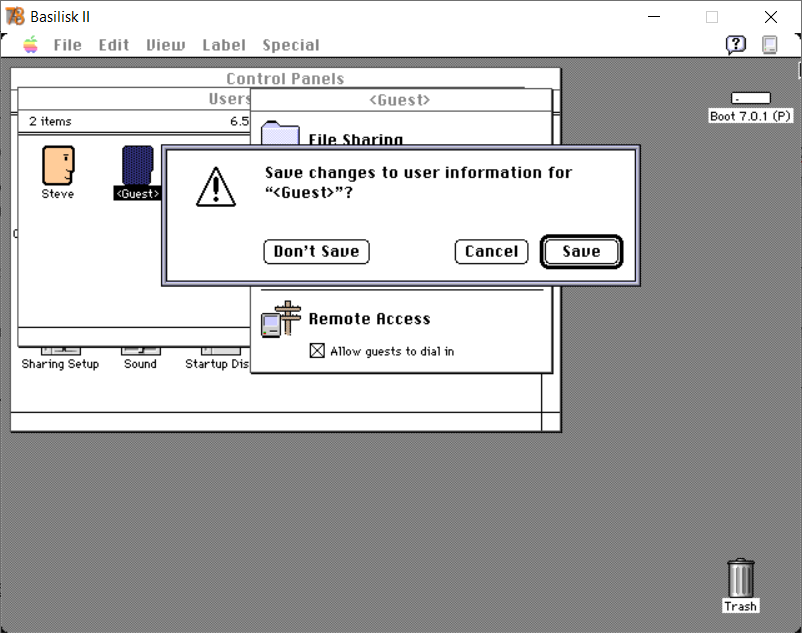
Figure 26: Save changes
4.4 Share one or more folders
- Create and select the folder you want to share, I created a folder call Download on each of my systems that I use to exchange files (figure 27)
- Select Menu->File->Sharing… (figure 27)
- On the {folder name} window (figure 28):
- Enable: Share this item and its contents (figure 29)
- Optionally Enable: Make all currently enclosed folders like this one (figure 29)
- Close the {folder name} window
- Select “save” for the prompt to “Save Changes” (figure 30)
- Optional: Select “ok” if prompted to change all folders inside this one to show these privileges (figure 31)
- Your folder’s icon should be updated to show that the folder is now shared (figure 32)
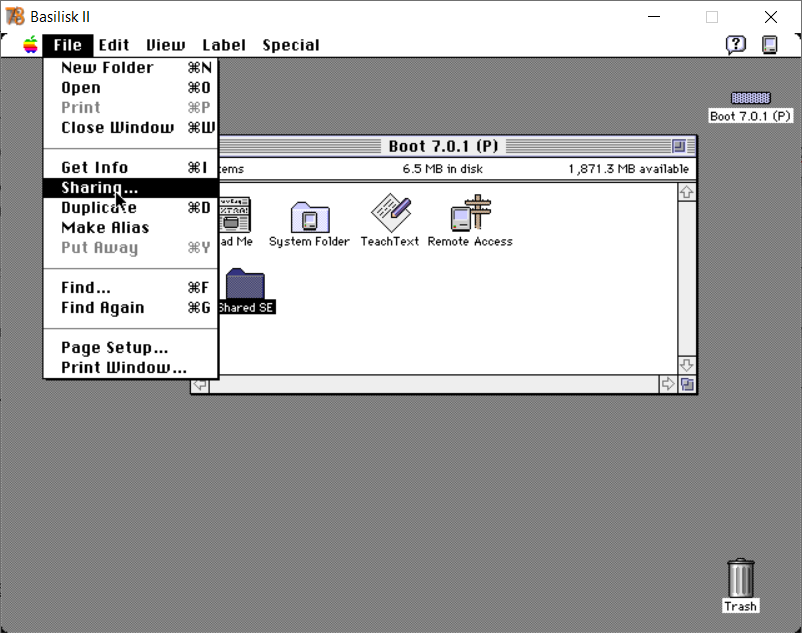
Figure 27: Folder to share 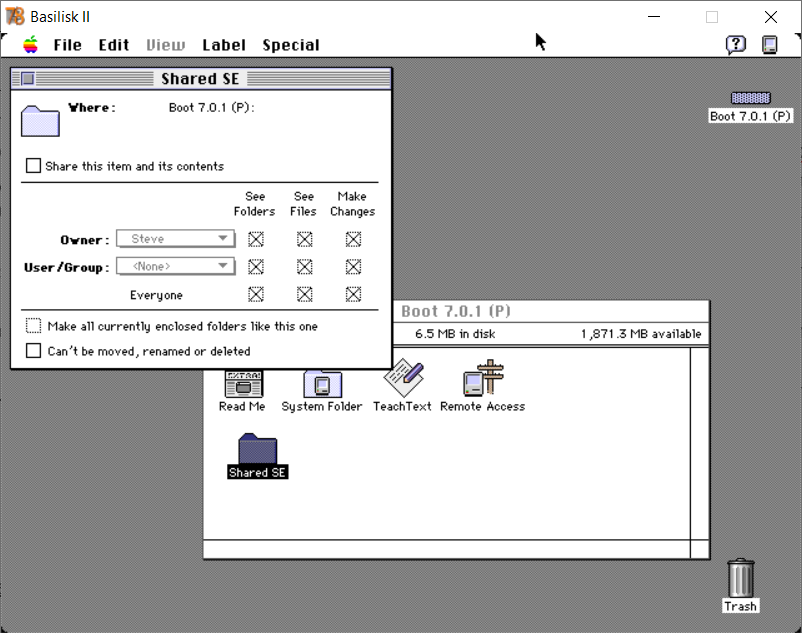
Figure 28: Shared Window 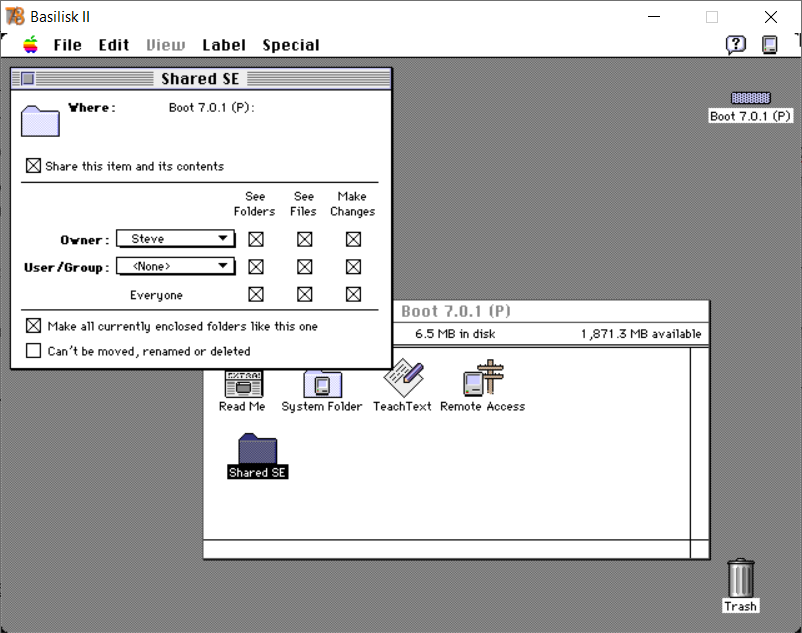
Figure 29: Sharing enabled 
Figure 30: Save changes 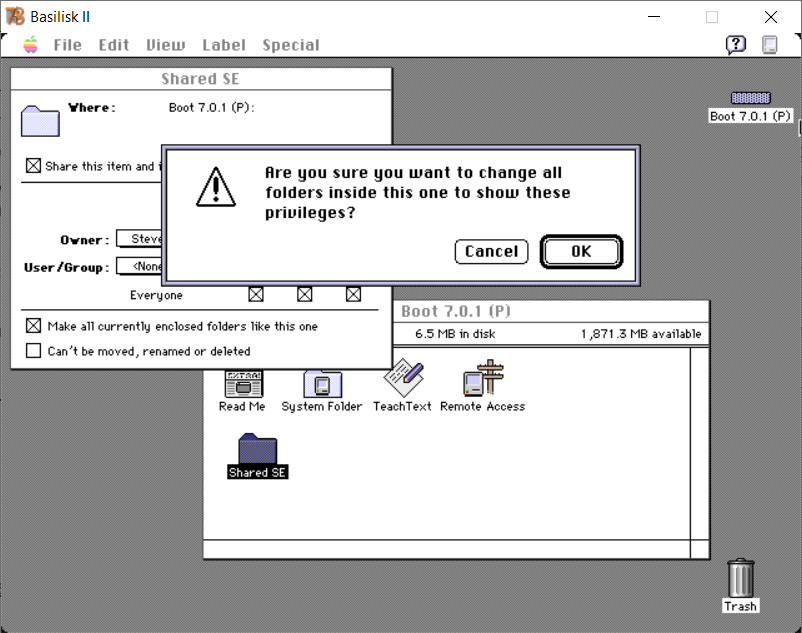
Figure 31: update subfolders 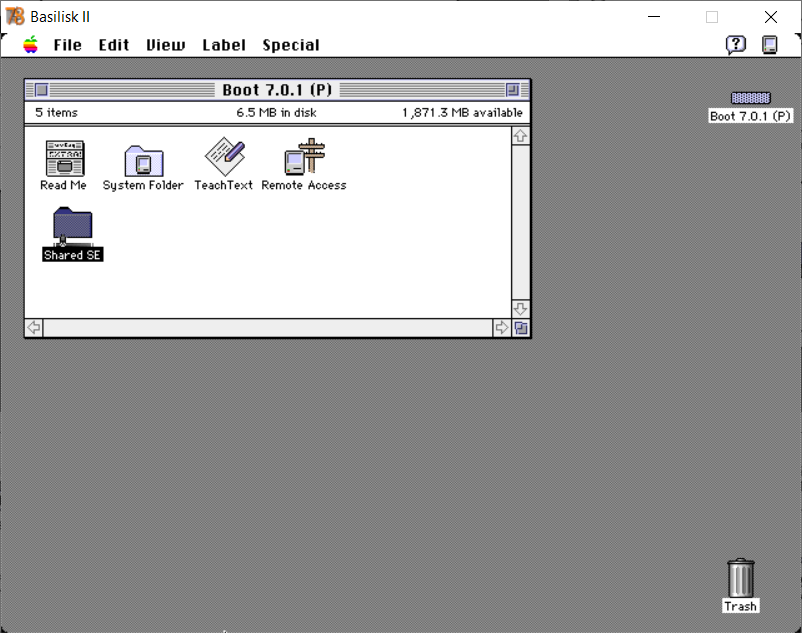
Figure 32: Folder shared
4.5 Mount a Shared Folder
So the purpose of all the above steps was to get to here
- Select the Apple Icon and select
Chooser(figure 15, way way above) - On the Chooser window:
- AppleTalk will be active
- Select AppleShare, and you should see one or more systems that are sharing folders. If you don’t see anything then you didn’t share any folders on your Macintosh system, and you likely want to have your Macintosh System call in to Basilisk II.
- Select a file server, for me I can select my LC 475 or my Macintosh SE… at some point I’ll have more once I recap them all.
- You will be prompted what account you want to use, I used Guest
- You will be prompted for which items you want to use, this will be the shared folders and applications.
- close the chooser window
- The shared folder you selected is now mounted on Basilisk II’s desktop, ready for you to drop files in to, copy files out of.
You continue to blow my mind!
I had no idea the Apple Legacy Software Recovery CD or the Apple Application Recovery CD existed. What an incredible resource. I’ve spent many hours building a similar collection only to find everything I needed and more was already available–and with handy installer scripts ready to go.
I could leave a glowing comment on each of your posts. You are doing a great service to the vintage Apple community. Thank you very much!
Thanks! I’m trying to put together the bits and pieces I’ve found on the internet in to something more cohesive for myself. I’m glad others are finding this useful.
Thanks a lot Steve. I’m a newbie who want to learn how to make a system 7 boot disk for my color classic. Right now I’m unable to do it and will try to understand your method.