Last updated on January 23, 2021
This entry builds on my entry for how to use Apple Remote Access Personal Server (ARA PS 2.1) to connect Basilisk II to a 68k Macintosh with AppleTalk over a null modem connection. Once that connection has been created between your Macintosh system and modern system running Basilisk II, you can use IPNetRouter to bridge the ARA PS’s AppleTalk connection with Basilisk II’s ethernet connection and surf the web from your Macintosh.
What you need
Note: this process will create the equivalent of a “dial-up” connection, see my Zterm entry for more information on what to expect for speed.
- A 68k Macintosh System with at least 4MB of memory running System 7.1 or higher with Open Transport 1.1.2 or MacTCP installed
- A USB/Serial null modem cable, I provide links to where I bought mine as part of my entry on using Zterm (I strongly suggest you cable using Zterm before trying to setup IPNetRouter with ARA 2.1).
- You MUST have your null modem cable connected to your modern system before you start Basilisk II
- Basilisk II, running a full version of System 7.5.5 with ARA 2.1 installed and tested, and OpenTransport 1.1.2 installed and tested. Note: I use a LCIII rom with Basilisk II, and I suggest you do the same for this guide, I had issues with getting ARA to work when I tried the Mac IIci rom.
- IPNetRouter 1.54, the installation files are on my System 7.5.5 drive and volume images (Network folder), or you can download the install files
Quick Start
- Setup IPNetRouter
- Setup Open Transport or MacTCP on your Macintosh System
- Call in from your Macintosh System to Basilisk II
- Open up a browser/FTP client on your Macintosh and Surf 🙂
1. IPNetRouter 1.54
This is the key application for all of this to work, IPNetRouter was created by Sustainable Softworks and version 1.54 was the last version to work on a 68k system.
1.1 Setup IPNetRouter
- Open the network folder
- Install IPNetRouter_154_68k
- Press the continue button (figure 1)
- Press the install button (figure 2)
- Press Yes for the “may need to be restarted” warning (figure 3)
- Press Install to use the default installation folder (figure 4)
- Press the restart button (figure 5)
- For me Basilisk II didn’t restart, so I had to manually start it again.
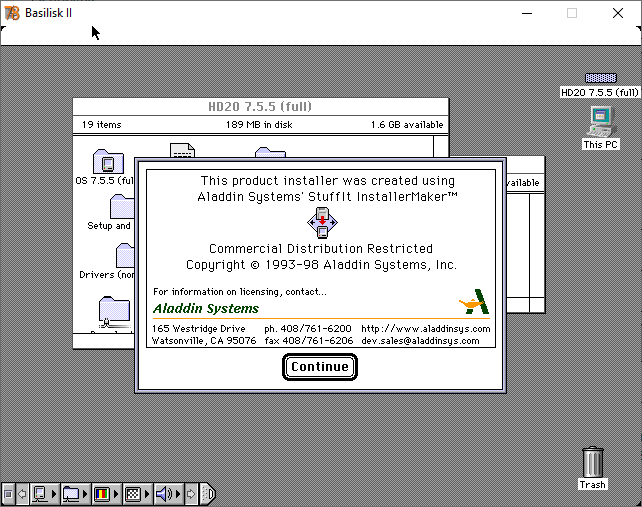
Figure 1: Welcome IPNetRouter 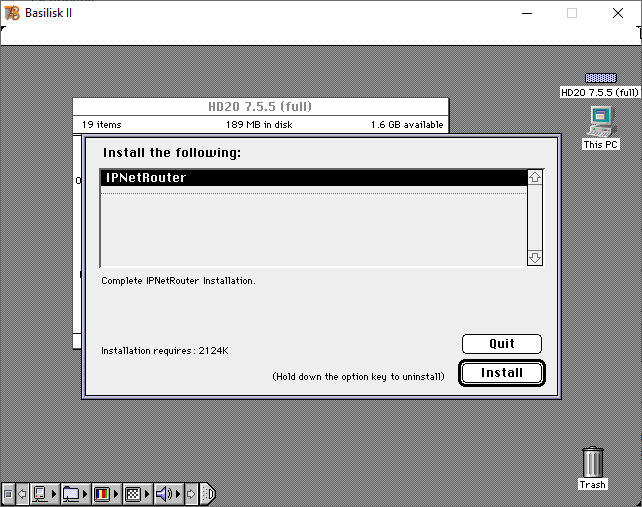
Figure 2: Install IPNetRouter 
Figure 3: Restart warning 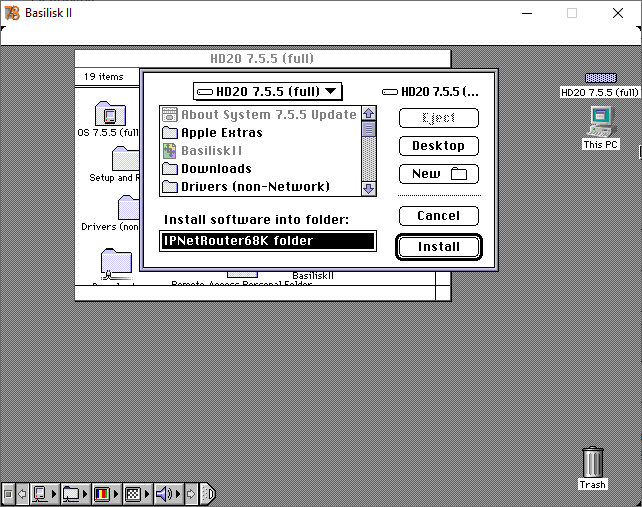
Figure 4: Install path (default) 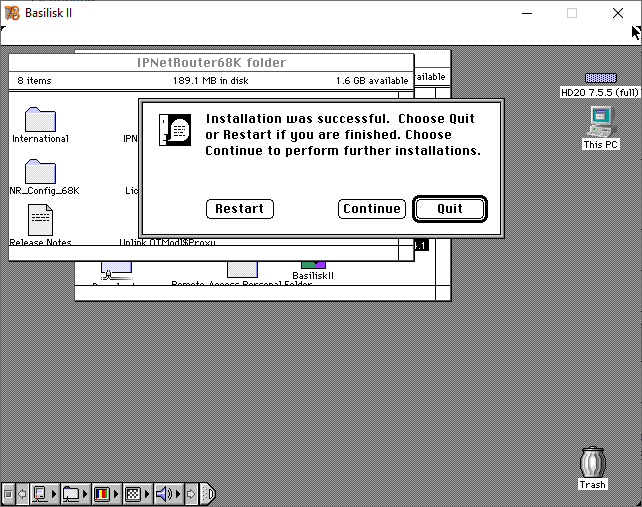
Figure 5: Installed and Restart
1.2 Using IPNetRouter
Now that it’s installed you need to setup IPNetRouter as a software bridge that connects the AppleTalk connection created by Apple Remote Access Personal Server to the Ethernet Connection you setup in step 1.
- Open the IPNetRouter68K folder (figure 6)
- Run IPNetRouter 68k (figure 7)
- Press the Accept button to begin your 21 day trial, or select Register (figure 8)
- Name: The Mac Community
- Company: Worldwide
- Date: leave blank
- Copies: 5
- Registration Key: 06E63F06
- On the Interfaces window: (figure 9)
- Select the first entry in the list, Port Name: Ethernet
- In the Configure Interfaces section:
- Enable IP Masquerading
- Press the Add button
- The Ethernet line entry will be updated (figure 10)
- Select the second line in the list (currently blank)
- In the Configure Interfaces section:
- Select AppleTalk (MacIP) in the dropdown (if that option isn’t available your installation of AHA PS may not be working
- Enter 192.168.0.1 for the IP address. This is the IP address that your Macintosh will use as a “gateway” to your network, you may have to use a different number. The key is the 2nd last didgit can’t be the same for the ethernet address as the one you use for this address. E.g. for me, my Ethernet uses 192.168.1.###, so I’m using 192.168.0.### for my Macintosh network.
- Enter 255.255.255.0 for the Mask
- Press the Add button
- An AppleTalk line entry will be added (figure 11)
- In the Configure Interfaces section:
- Close the Interfaces window
- DO NOT EXIT IPNetRouter, leave it running in the background
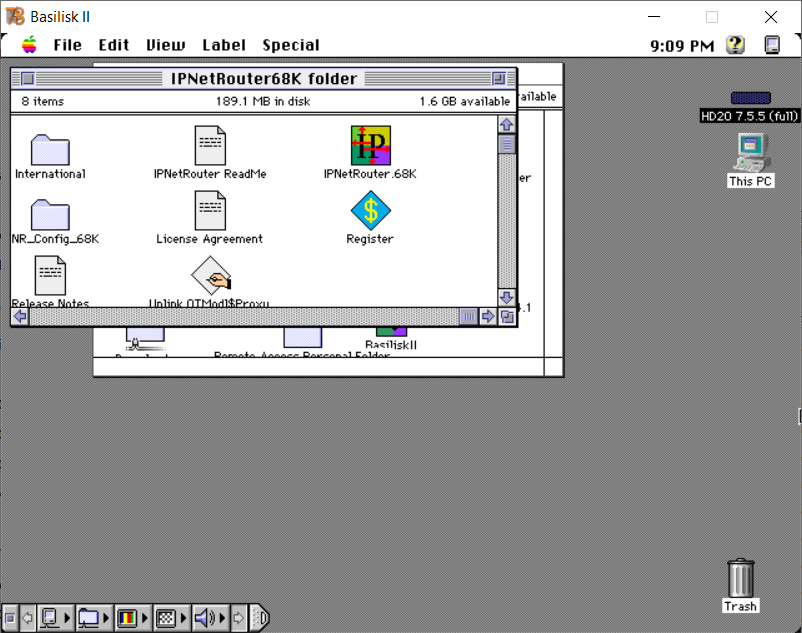
Figure 6: Running IPNetRouter 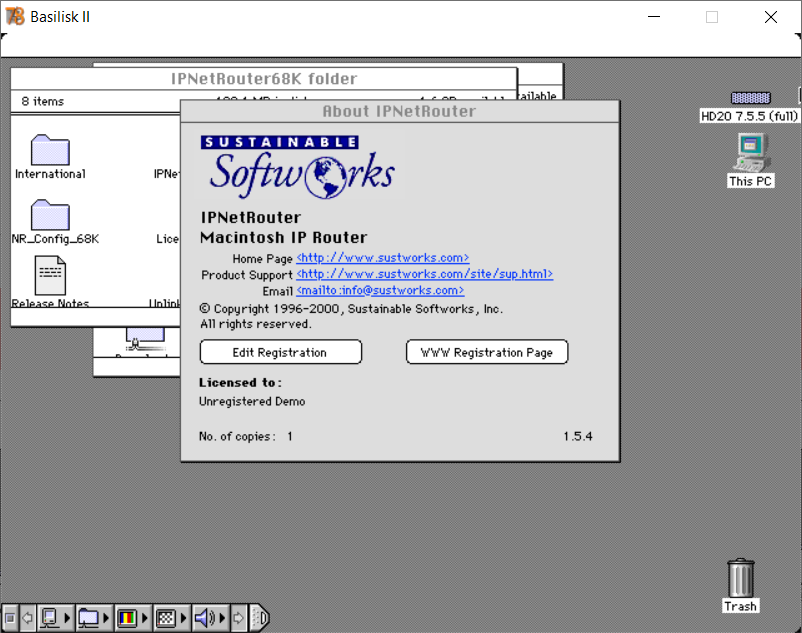
Figure 7: About 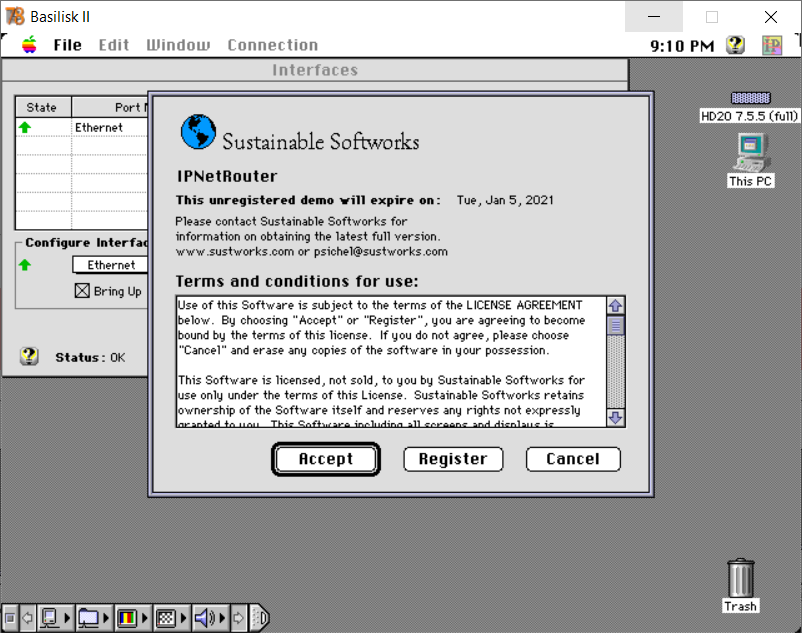
Figure 8: Register Reminder 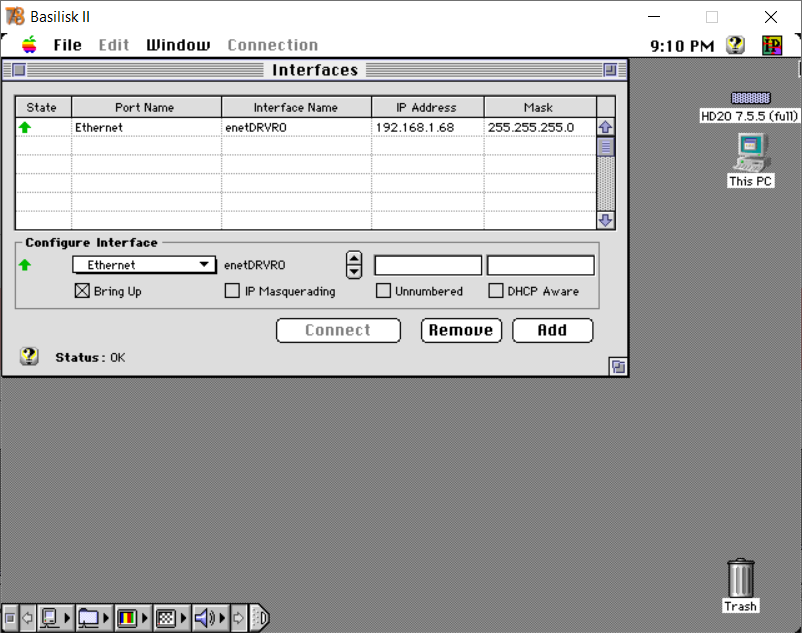
Figure 9: Interfaces 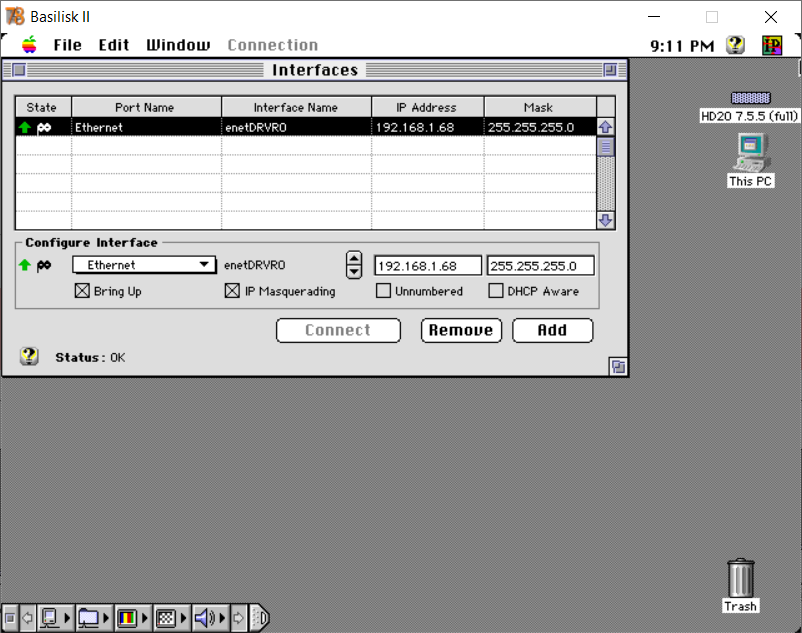
Figure 10: Ethernet 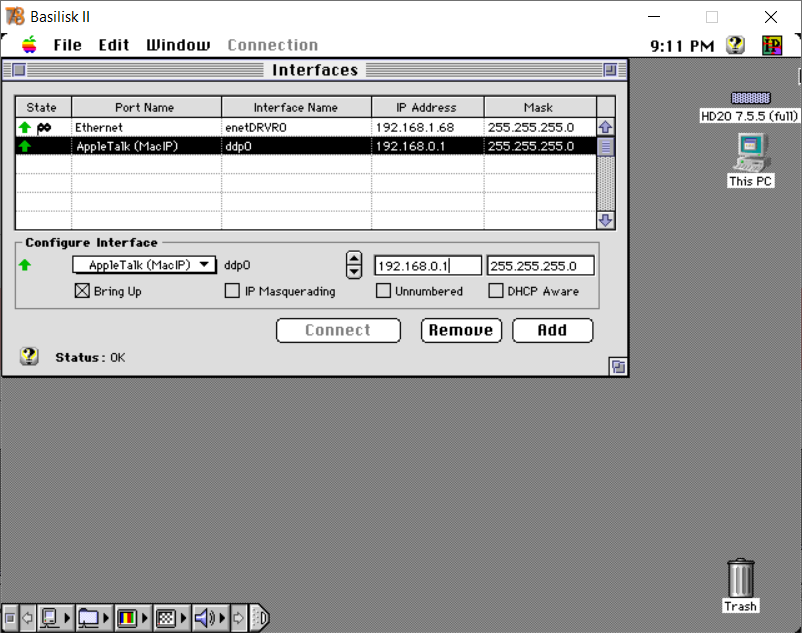
Figure 11: AppleTalk
3. Call Basilisk II from your Macintosh using ARA PS
With IPNetRouter running and ARA PS 2.1 installed and tested in Basilisk II you’re almost ready to surf the web on your Macintosh using your new TCP/IP over AppleTalk connection.
I found I had the best performance when my LC 475 “called” Basilisk II to create the connection, BUT, only the LC 475 could access the internet, and Basilisk II could only see my LC475. If I had Basilisk II call my LC 475 then Basilisk II could see my entire LocalTalk network and my SE (running 6.0.8 and MacTCP) could connect to the internet across LocalTalk connection through my LC 475 to Basilisk II, I found this worked but is much slower, and prone to timeouts.
- Guide for ARA PS 2.1 to receive calls, or to make calls
I suggest for your first test you setup Basilisk II to receive calls, and your Macintosh system to make the call:
- On your Macintosh configure your TCP/IP or MacTCP settings:
- IP Address: 192.168.0.2 (assuming you set your AppleTalk gateway as 192.168.0.1)
- Subnet mask: 255.255.255.0
- Router address: 192.168.0.1
- Name server address: 8.8.8.8
- Close the TCP/IP or MacIP window
- Save changes
- I suggest you reboot your Macintosh at this point
- Open the Remote Access Personal Folde
- Run the Remote Access Personal application
- Connect
4. Surfing the Net on you Macintosh(es)
You should be ready to surf the net, I installed Netscape 2 on my LC475 with JavaScript disabled and was able to access several sites…. at essentially dial-up speed.
I’ve done my level best to try and recreate this on both a Colour Classic and PPC6100… with no luck. Any chance you might post an image of your SD card setup?
Thank you!
Hi Ron, can you tell me what your setup is? Are you using Windows 10? Do you have the latest version of Basilisk II? Were you able to connect using Zterm first to confirm your null-modem cable works with Basilisk II and you have the right com port selected? Were you able to connect using AppleTalk? What system software are you running? Were you able to get to step 1.3 above?
To post the working image I’d have to post an image with the full System software installed and I’m trying not to do that so I don’t get nailed with a takedown notice.